

How to connect a distribution box to a network?
Leave a message

Hey there! As a distribution box supplier, I often get asked about how to connect a distribution box to a network. It might sound a bit technical, but I'm gonna break it down for you in a super easy way.
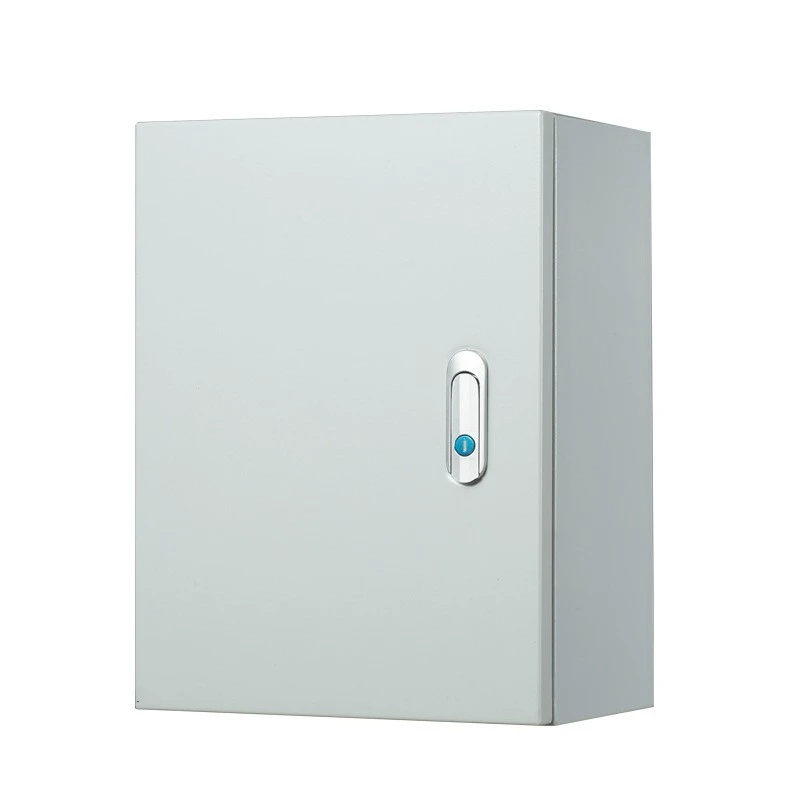
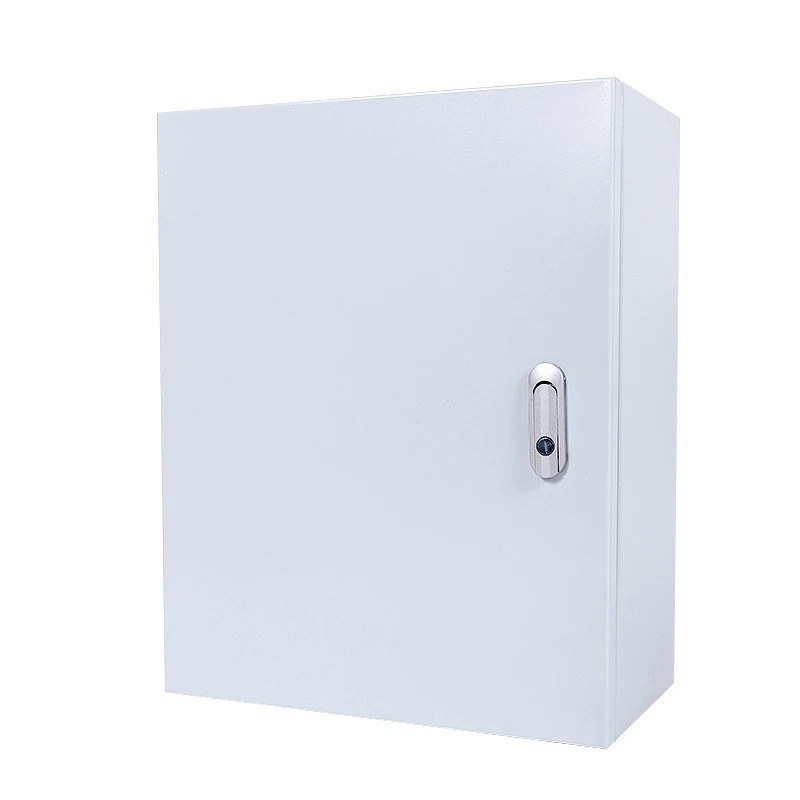
First off, let's understand what a distribution box is. A distribution box is like the traffic controller of an electrical system. It takes in power from a main source and distributes it to different circuits. There are all kinds of distribution boxes out there, like the Distribution Box For Electrical. This type is great for general electrical setups, whether it's in a home or a small business. And if you're dealing with an environment where there's a risk of water exposure, the Waterproof Wall Mounted Distribution Box is your go-to.
Now, let's get into the steps of connecting a distribution box to a network.
Step 1: Plan Your Setup
Before you start doing anything, you need to have a clear plan. Figure out where you're gonna place the distribution box. It should be in a location that's easily accessible but also safe from physical damage. You also need to know how many circuits you'll be connecting to the box. Make a list of all the devices or areas that will be getting power from the box. This will help you determine the size and capacity of the distribution box you need.
Step 2: Gather Your Tools
You'll need a few basic tools for this job. A screwdriver is a must - you'll use it to open the distribution box and make connections. A wire stripper is also essential for removing the insulation from the wires. A voltage tester is important to make sure the power is off before you start working. And depending on the type of network connection, you might need some network cables and connectors.
Step 3: Turn Off the Power
This is a super important step. Before you start working on the distribution box, turn off the main power supply. You don't want to get electrocuted, right? Use the voltage tester to double - check that there's no power flowing to the box.
Step 4: Connect the Main Power
Once the power is off, you can start connecting the main power cable to the distribution box. Usually, there will be a specific terminal for the main power input. Strip the end of the main power cable and insert it into the terminal. Use the screwdriver to tighten the terminal and make sure the connection is secure.
Step 5: Connect the Circuits
Now it's time to connect the individual circuits. Each circuit will have its own breaker in the distribution box. Strip the ends of the circuit wires and connect them to the corresponding breakers. Make sure you connect the live, neutral, and ground wires correctly. The live wire is usually the one that carries the power, the neutral wire completes the circuit, and the ground wire provides a safety path in case of a fault.
Step 6: Network Connection
If you're connecting the distribution box to a network, you'll need to figure out the type of network you're using. It could be an Ethernet network, a Wi - Fi network, or something else. For an Ethernet connection, you'll need to run an Ethernet cable from the distribution box to a network switch or router. Plug the cable into the appropriate port on the distribution box and the network device.
If it's a Wi - Fi connection, you'll need to configure the distribution box to connect to your Wi - Fi network. This usually involves accessing the box's settings through a web interface. You'll need to enter your Wi - Fi network's SSID (name) and password.
Step 7: Test the Connections
After you've made all the connections, it's time to test them. Turn on the main power supply and use the voltage tester to check that power is flowing to the circuits. Also, check the network connection to make sure the distribution box is connected to the network. You can do this by trying to access the box's web interface or by running a network diagnostic tool.
Step 8: Secure the Box
Once everything is working properly, make sure the distribution box is securely closed. This will protect the connections from dust, moisture, and physical damage.
There you have it! Those are the basic steps to connect a distribution box to a network. But remember, if you're not confident in your electrical skills, it's always a good idea to hire a professional electrician.
Now, if you're in the market for a high - quality distribution box, we've got you covered. We offer a wide range of distribution boxes, from the standard Distribution Box For Electrical to the Waterproof Wall Mounted Distribution Box. Our products are made with the best materials and are designed to last.
If you're interested in purchasing our distribution boxes or have any questions about the connection process, feel free to reach out to us. We're always happy to help you with your electrical needs and get you the right distribution box for your setup.
References
- Electrical Wiring Handbook by Mike Holt
- Network Installation and Troubleshooting Guide by Cisco Press


