

How to install a capacitor in a wall mounted distribution box?
Leave a message

As a supplier of wall mounted distribution boxes, I often receive inquiries from customers about how to install a capacitor in a wall mounted distribution box. In this blog post, I will provide a detailed guide on the installation process, ensuring that you can carry out this task safely and effectively.
Understanding the Basics
Before we start the installation process, it's important to understand what a capacitor is and why it's used in a wall mounted distribution box. A capacitor is an electrical component that stores and releases electrical energy. In a distribution box, capacitors are commonly used for power factor correction. By improving the power factor, capacitors can reduce energy consumption, lower electricity bills, and improve the overall efficiency of the electrical system.
Tools and Materials Required
To install a capacitor in a wall mounted distribution box, you will need the following tools and materials:
- Capacitor: Choose a capacitor with the appropriate voltage and capacitance ratings for your electrical system.
- Screwdriver: A Phillips or flathead screwdriver, depending on the type of screws used in the distribution box.
- Wire strippers: To strip the insulation from the electrical wires.
- Electrical tape: To insulate the electrical connections.
- Safety gloves and goggles: To protect yourself from electrical hazards.
Step-by-Step Installation Guide
Step 1: Turn Off the Power
Before you begin any electrical work, it's crucial to turn off the power supply to the distribution box. Locate the main circuit breaker in your electrical panel and switch it to the "off" position. This will prevent any electrical shocks during the installation process.
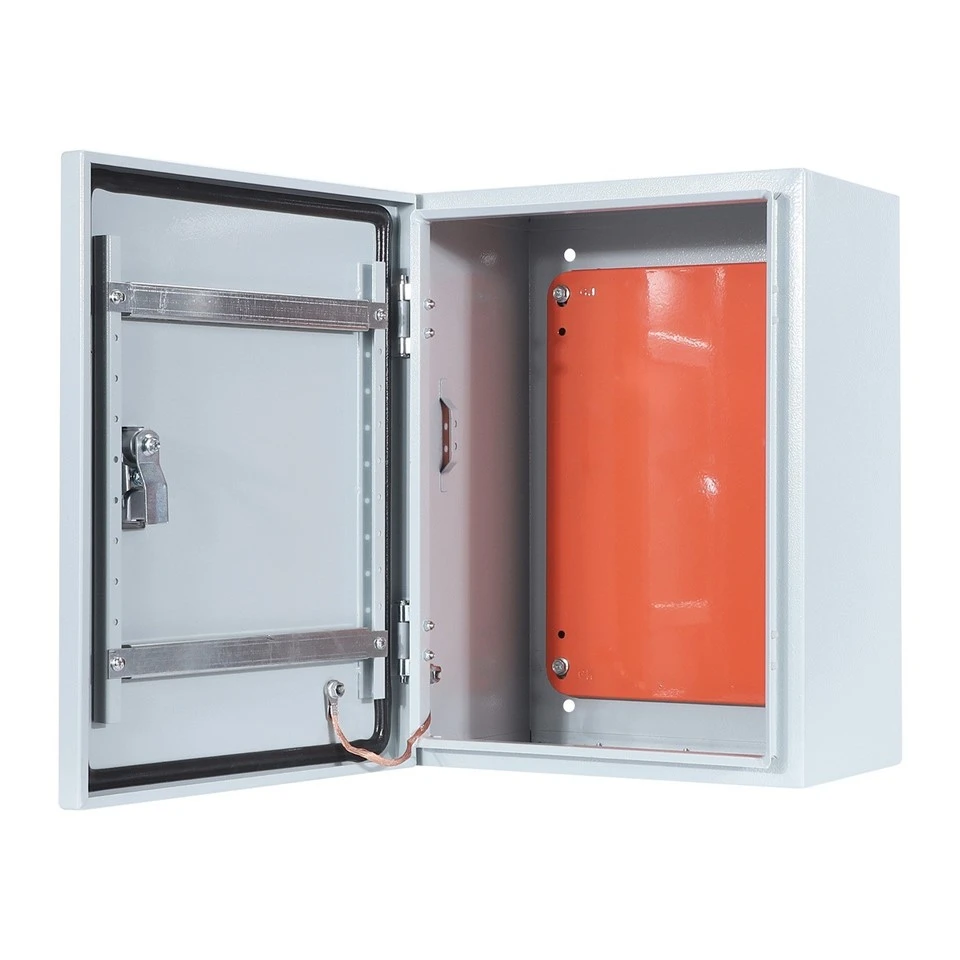
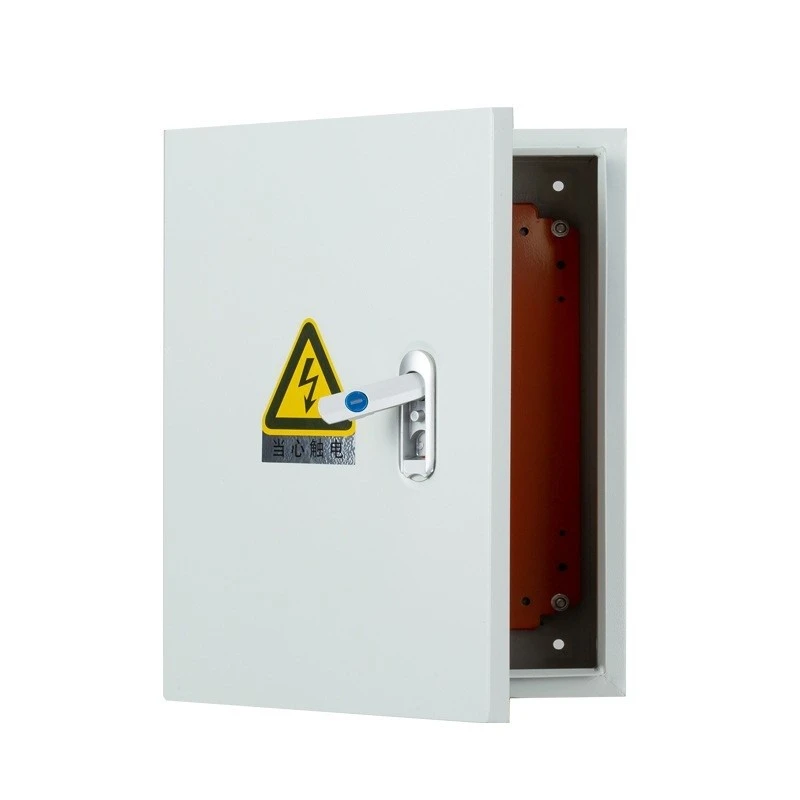
Step 2: Open the Distribution Box
Use a screwdriver to remove the cover of the wall mounted distribution box. Place the cover in a safe place to avoid misplacing it.
Step 3: Identify the Installation Location
Inside the distribution box, identify a suitable location to install the capacitor. Make sure there is enough space for the capacitor and that it is away from other electrical components to prevent overheating.
Step 4: Mount the Capacitor
Use the screws provided with the capacitor to mount it securely to the inside of the distribution box. Ensure that the capacitor is firmly attached and does not move or vibrate.
Step 5: Connect the Wires
Carefully strip the insulation from the ends of the electrical wires. Connect the wires from the capacitor to the appropriate terminals in the distribution box. Usually, the capacitor will have two terminals: one for the live wire and one for the neutral wire. Follow the manufacturer's instructions for the correct wiring configuration.
Step 6: Insulate the Connections
Once the wires are connected, use electrical tape to insulate the connections. This will prevent any short circuits or electrical hazards.
Step 7: Close the Distribution Box
After the capacitor is installed and the connections are insulated, replace the cover of the distribution box. Use the screwdriver to secure the cover in place.
Step 8: Turn On the Power
Once the distribution box is closed, switch the main circuit breaker in the electrical panel back to the "on" position. This will restore power to the distribution box and the electrical system.
Safety Precautions
- Turn off the power: Always turn off the power supply before working on the distribution box to avoid electrical shocks.
- Use proper tools: Use the correct tools for the job and ensure they are in good condition.
- Wear safety gear: Wear safety gloves and goggles to protect yourself from electrical hazards.
- Follow the manufacturer's instructions: Read and follow the manufacturer's instructions for the capacitor and the distribution box.
Benefits of Installing a Capacitor in a Wall Mounted Distribution Box
- Power factor correction: Capacitors can improve the power factor of the electrical system, reducing energy consumption and electricity bills.
- Voltage regulation: Capacitors can help regulate the voltage in the electrical system, ensuring a stable power supply.
- Equipment protection: By improving the power quality, capacitors can protect electrical equipment from damage and extend its lifespan.
Conclusion
Installing a capacitor in a wall mounted distribution box is a relatively straightforward process, but it requires careful attention to safety and proper installation techniques. By following the steps outlined in this guide, you can install a capacitor safely and effectively, improving the efficiency and performance of your electrical system.
If you are interested in purchasing a Distribution Box For Electrical or a Waterproof Wall Mounted Distribution Box, please feel free to contact us for more information and to discuss your specific requirements. We are committed to providing high-quality products and excellent customer service.
References
- Electrical Installation Manuals
- Capacitor Manufacturer's Guides


