

How to connect the high pressure cabinet pilot lamp to the circuit?
Leave a message

Hey there! As a supplier of High Pressure Cabinet Pilot Lamps, I often get asked about how to connect these nifty little devices to the circuit. It's not as complicated as it might seem at first glance, but there are definitely some key steps and considerations to keep in mind. So, let's dive right in and break it down.
Understanding High Pressure Cabinet Pilot Lamps
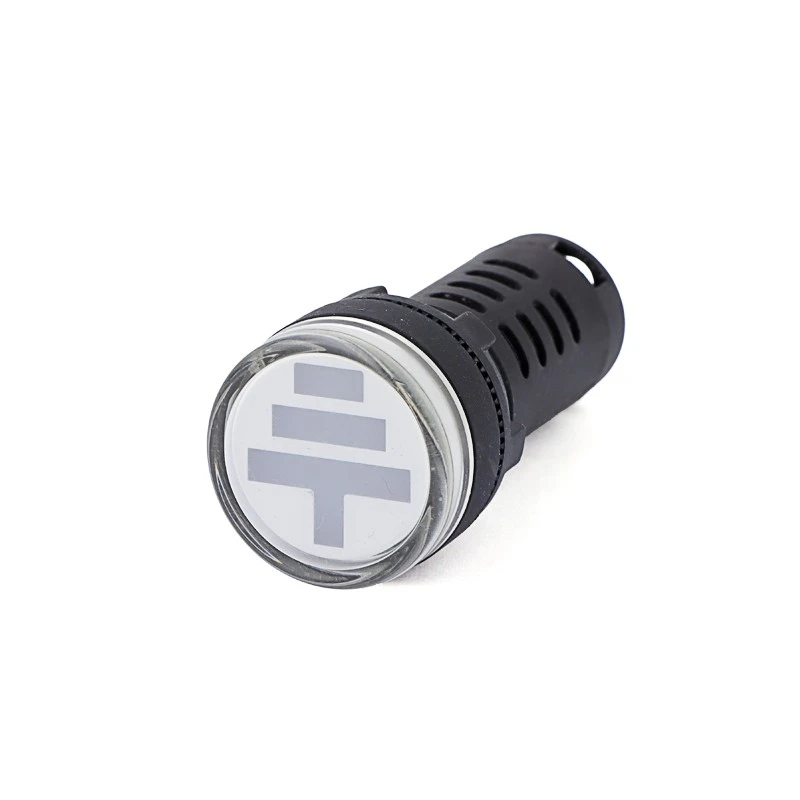
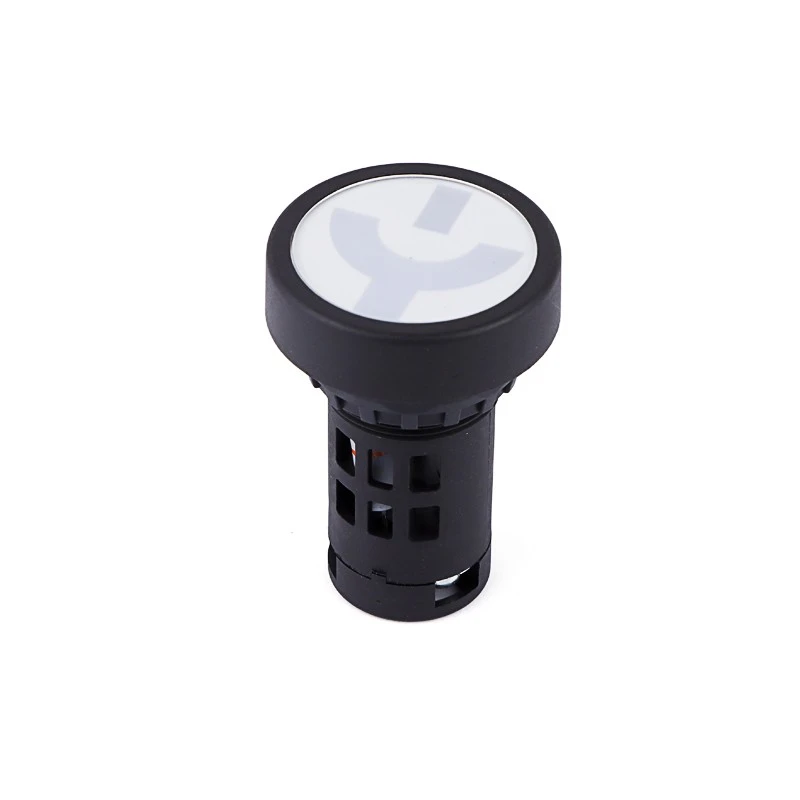
First off, let's talk a bit about what High Pressure Cabinet Pilot Lamps are. These lamps are crucial components in high - pressure cabinets, providing visual indications of various states such as whether a circuit is energized, if a breaker is open or closed, and more. They come in different types, like Grounding Position Indicator, Dual Color Signal Lamp, Circuit Breaker Position Indicator Lamp, and Circuit Breaker Switch Indicator. Each type serves a specific purpose, and choosing the right one for your application is the first step.
Preparing for the Connection
Before you start connecting the pilot lamp to the circuit, you need to do some prep work. Safety should always be your top priority. Make sure the high - pressure cabinet is de - energized. This means turning off the main power supply and double - checking that there is no voltage present using a proper voltage tester.
Next, gather all the necessary tools. You'll typically need a screwdriver (both flat - head and Phillips - head), wire strippers, electrical tape, and a multimeter. Having these tools on hand will make the connection process much smoother.
Identifying the Circuit
The next step is to identify the circuit where you want to connect the pilot lamp. You need to know what kind of signals the lamp will be receiving. For example, if it's a Circuit Breaker Position Indicator Lamp, you'll be connecting it to the circuit that indicates whether the breaker is open or closed.
Look for the appropriate terminals in the high - pressure cabinet. These terminals are usually labeled, but if they're not, you might need to refer to the cabinet's wiring diagram. It's important to note that different types of pilot lamps might require different connection points. For instance, a Dual Color Signal Lamp might need connections for both the on - state and the off - state signals.
Wiring the Pilot Lamp
Now, let's get to the actual wiring. Start by stripping the ends of the wires that will connect the pilot lamp to the circuit. Make sure to strip just enough insulation to expose the conductor, usually about 1/2 inch.
Connect one wire from the pilot lamp to the positive terminal of the circuit. This is often the live or hot wire. The other wire from the lamp should be connected to the negative or ground terminal. When making these connections, use the screwdriver to tighten the terminal screws securely. This ensures a good electrical connection and prevents loose wires that could cause problems later.
Once the connections are made, wrap the exposed wire ends with electrical tape. This provides an extra layer of insulation and helps prevent short circuits.
Testing the Connection
After wiring the pilot lamp, it's time to test the connection. But before you do that, make sure everything is properly secured and there are no loose wires. Then, carefully restore power to the high - pressure cabinet.
Use the multimeter to check if there is voltage across the pilot lamp. If the lamp is supposed to be on when the circuit is energized, it should light up. If it doesn't, there could be a problem with the wiring or the lamp itself. Check the connections again and make sure the lamp is functioning correctly.
Troubleshooting
If you encounter any issues during the testing phase, don't panic. Here are some common problems and their solutions:
- Lamp doesn't light up: Check the wiring connections to make sure they are tight and correct. Also, test the lamp with a battery to see if it's working. If the lamp is faulty, replace it.
- Lamp flickers: This could be due to a loose connection or a problem with the power supply. Check the wiring and make sure the power supply is stable.
- Wrong color indication: If you're using a Dual Color Signal Lamp and it's showing the wrong color, check the wiring for the different color signals. Make sure they are connected to the correct terminals.
Benefits of Using High Quality Pilot Lamps
Using high - quality High Pressure Cabinet Pilot Lamps, like the ones we supply at High Pressure Cabinet Pilot Lamp, has several benefits. These lamps are designed to withstand high - pressure environments and provide accurate and reliable indications. They have a longer lifespan compared to cheaper alternatives, which means less maintenance and replacement costs in the long run.
Why Choose Our Products
As a supplier, we take pride in offering a wide range of pilot lamps that meet the highest quality standards. Our lamps are made from durable materials and are rigorously tested to ensure they perform well in high - pressure cabinets. We also provide excellent customer support, so if you have any questions or need help with installation, our team is here to assist you.
Contact Us for Purchase
If you're in the market for High Pressure Cabinet Pilot Lamps or any of our other products, we'd love to hear from you. Whether you're working on a small project or a large - scale industrial installation, we have the right products for you. Reach out to us to discuss your requirements and get a quote. We're committed to providing you with the best products and services at competitive prices.
References
- Electrical Installation Handbook, Schneider Electric
- High - Voltage Switchgear Manual, Siemens
So, that's how you connect a high - pressure cabinet pilot lamp to the circuit. It might take a bit of time and patience, but following these steps will ensure a successful installation. If you have any more questions, feel free to drop us a line.


