

How to replace a pilot lamp?
Leave a message

Hey there! I'm a supplier of pilot lamps, and today I'm gonna walk you through how to replace a pilot lamp. Whether you're a DIY enthusiast or a professional electrician, this guide will come in handy.
Why Replace a Pilot Lamp?
First off, let's talk about why you might need to replace a pilot lamp. Pilot lamps are used to indicate the status of electrical circuits, equipment, or systems. They can show if a device is on, off, or in an abnormal state. Over time, these lamps can burn out, get damaged, or simply stop working properly. When that happens, it's time to replace them.
Tools You'll Need
Before you start replacing a pilot lamp, you'll need a few tools. Here's what you'll need:
- Screwdriver: Depending on the type of fixture, you might need a flathead or Phillips screwdriver to remove the cover or mounting screws.
- Pliers: You'll need pliers to disconnect the wires from the old lamp.
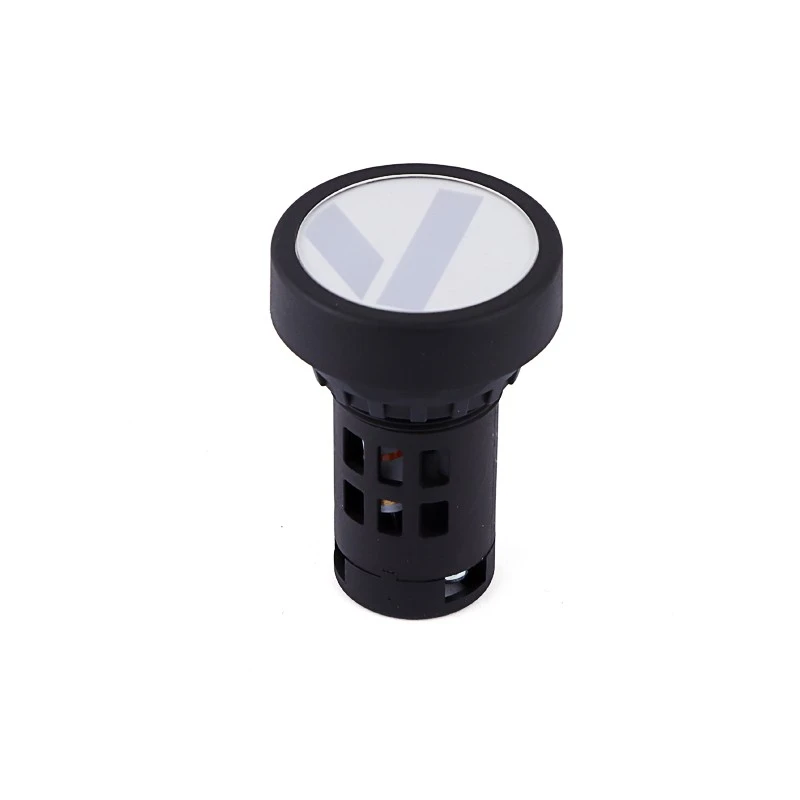
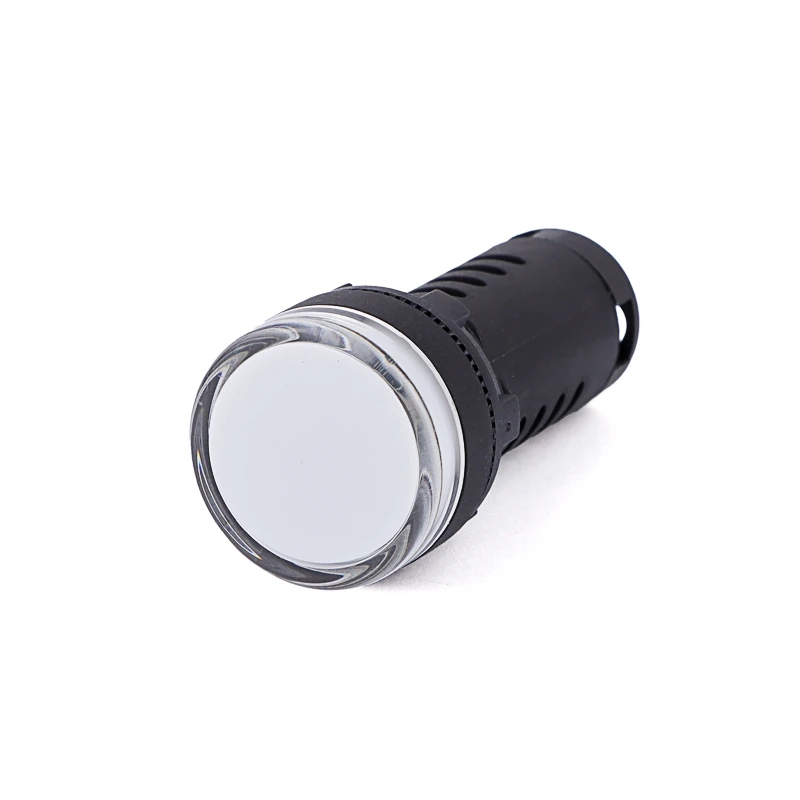
- New Pilot Lamp: Make sure you get the right type of lamp for your application. You can check out our Circuit Breaker Switch Indicator, Dual Color Signal Lamp, Circuit Breaker Position Indicator Lamp, High Pressure Cabinet Pilot Lamp, or Grounding Position Indicator for different options.
- Safety Gloves and Goggles: It's always a good idea to protect yourself when working with electricity.
Step-by-Step Guide
Now that you have your tools ready, let's get started with the replacement process.
Step 1: Turn Off the Power
This is the most important step. Before you start working on the pilot lamp, make sure you turn off the power to the circuit or equipment. This will prevent any electrical shocks or short circuits. You can do this by switching off the circuit breaker or unplugging the device.
Step 2: Remove the Old Pilot Lamp
Once the power is off, you can start removing the old pilot lamp. Use your screwdriver to remove the cover or mounting screws. Then, use your pliers to disconnect the wires from the lamp. Be careful not to damage the wires or the fixture.
Step 3: Identify the Wires
Before you install the new pilot lamp, you need to identify the wires. Usually, there are two wires: a positive and a negative. The positive wire is usually red or brown, while the negative wire is usually black or blue. Make sure you connect the new lamp to the correct wires.
Step 4: Install the New Pilot Lamp
Once you've identified the wires, you can install the new pilot lamp. Connect the wires to the lamp according to the color code. Then, insert the lamp into the fixture and secure it with the mounting screws.
Step 5: Test the New Pilot Lamp
After you've installed the new pilot lamp, it's time to test it. Turn on the power and see if the lamp lights up. If it doesn't, check the connections and make sure the lamp is working properly.
Tips and Tricks
Here are some tips and tricks to make the replacement process easier:
- Use the Right Tools: Make sure you use the right tools for the job. Using the wrong tools can damage the fixture or the lamp.
- Follow the Instructions: If you're not sure how to replace the pilot lamp, follow the instructions that came with the lamp or the fixture.
- Take Your Time: Don't rush the replacement process. Take your time and make sure everything is done correctly.
- Check the Voltage: Make sure the new pilot lamp has the same voltage as the old one. Using a lamp with the wrong voltage can cause it to burn out or not work properly.
Conclusion
Replacing a pilot lamp is a simple process that anyone can do. By following the steps in this guide and using the right tools, you can replace a pilot lamp in no time. If you have any questions or need help with your pilot lamp replacement, feel free to reach out. We're here to help you find the right pilot lamp for your needs and guide you through the replacement process.
If you're looking to purchase pilot lamps, we're your go-to supplier. We offer a wide range of high-quality pilot lamps to meet your specific requirements. Contact us to start a procurement discussion and find the perfect solution for your electrical systems.
References
- Electrical Safety Standards Handbook
- Pilot Lamp Installation Guides


